
No-Bake Peanut Butter Cheesecake Balls

Creamy, bite-sized peanut butter and cream cheese centers dipped in chocolate — an easy no-bake treat perfect for parties, lunchboxes, or a sweet fridge stash.
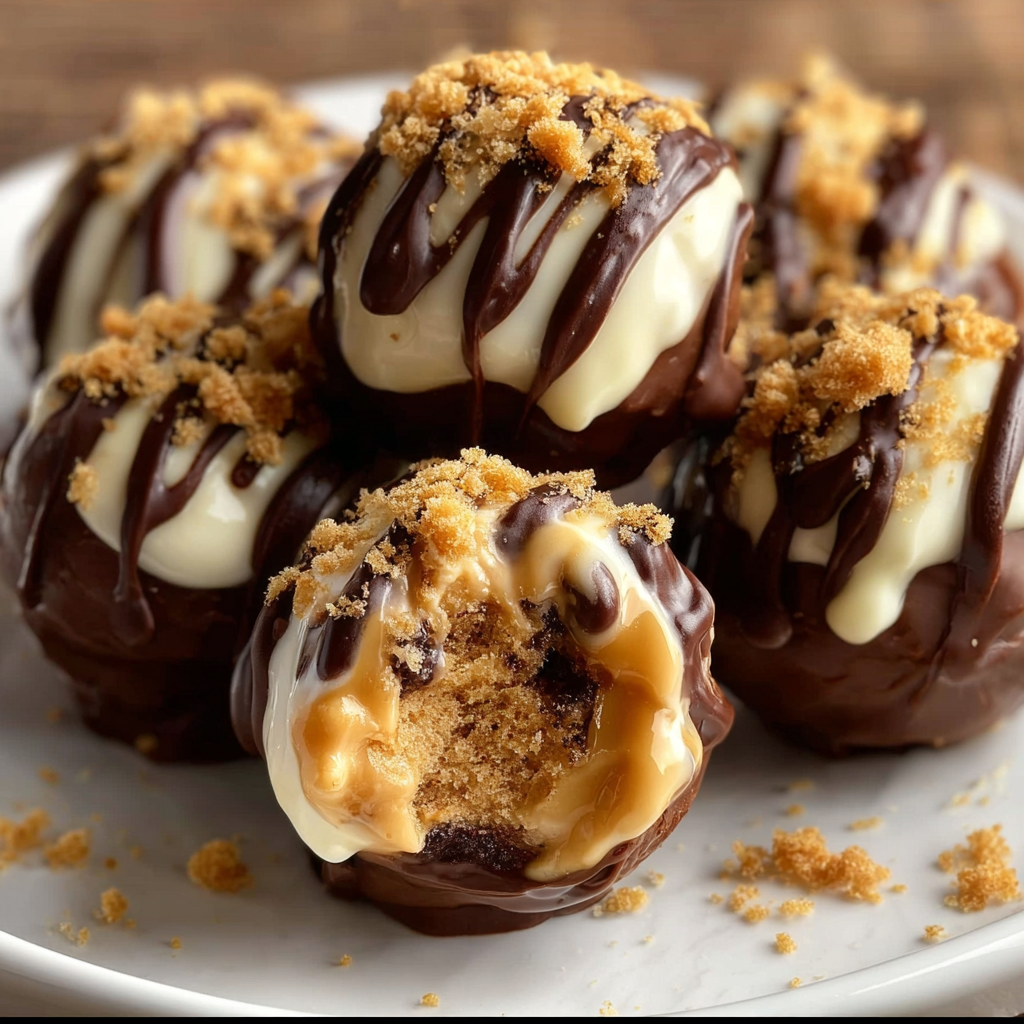
This recipe is my go-to when a crowd is coming over or when I need a small, indulgent dessert without heating up the kitchen. I first developed these bite-sized treats during a summer weekend when the oven was broken and a house full of friends demanded something sweet. The combination of smooth cream cheese and rich peanut butter gives each bite a velvety texture, while the graham crumbs add just enough body to hold the shape. Coating them in semi-sweet chocolate makes them feel luxurious, but they come together in a fraction of the time a traditional baked good would take.
What makes these particularly special is their versatility and how reliably they please everyone at the table. The centers are tangy from the cream cheese, nutty from the peanut butter, and a touch sweet from the powdered sugar — a balance that keeps you coming back for more. They’re small enough to pop in your mouth but full of flavor, so they work equally well at potlucks, as an after-dinner bite, or tucked into a lunchbox. I love keeping a stash in the fridge for guests who drop by unannounced.
Why You'll Love This Recipe
- Ready in under 45 minutes from start to finish, including chilling time, so you can prepare a delightful dessert quickly.
- Uses pantry staples — cream cheese, peanut butter, powdered sugar, graham crumbs, and chocolate — ingredients you likely already have on hand.
- No oven required, which keeps the kitchen cool during warm months and lets you bypass complicated baking techniques.
- Make-ahead friendly: centers can be formed and refrigerated or frozen before dipping, saving time the day of serving.
- Crowd-pleasing texture: creamy interior with a crisp chocolate shell makes every bite satisfying and easy to eat at parties.
- Customizable garnish: top with crushed peanuts, sprinkles, or a drizzle of white chocolate to suit any occasion.
I remember the first time I served these at a summer picnic — neighbors kept asking where they came from and how long they’d been in the fridge. My kids loved decorating the tops with sprinkles, and my friend who ordinarily avoids sweets admitted she couldn’t stop at two. Over the years I’ve tweaked the crumb ratio and chocolate coating to find the ideal balance of firmness and creaminess.
Ingredients
- Cream cheese (8 oz): Use full-fat, block-style cream cheese for the creamiest texture. I prefer Philadelphia for consistent results; allow it to soften at room temperature so it blends smoothly with the peanut butter.
- Creamy peanut butter (1 cup): A smooth, room-temperature peanut butter blends easiest. Choose a brand with just peanuts and salt for the cleanest flavor — avoid runny natural varieties unless you reduce any added oil.
- Powdered sugar (1 cup): Finely sifted powdered sugar dissolves into the filling better than granulated, yielding a smooth, slightly sweet center. If you like it less sweet, start with 3/4 cup and adjust.
- Vanilla extract (1 tsp): Adds depth and rounds the flavors; pure vanilla extracts are worth it here because the profile is simple and each note matters.
- Graham cracker crumbs (1 1/2 cups): These provide structure so the mixture holds when rolled; pulse whole graham crackers in a food processor or buy pre-crushed crumbs. If you want gluten-free, substitute gluten-free cracker crumbs.
- Semi-sweet chocolate (8 oz): For coating, use a good-quality chocolate or chips. I use semi-sweet to balance the sweetness of the filling; dark chocolate works if you prefer a less sweet finish.
- Coconut oil (2 tbsp, optional): A small amount smooths the melted chocolate for an easier dip and shinier shell; you can skip it but expect a firmer set.
- Garnish: Crushed peanuts or sprinkles to finish; crushed roasted peanuts add texture and a salty contrast.
Instructions
Prepare the Filling: In a large mixing bowl, beat the softened cream cheese with an electric mixer until smooth, then add the creamy peanut butter, powdered sugar, and vanilla. Scrape the bowl and continue mixing until the texture is glossy and fully combined, about 1-2 minutes. Avoid overmixing which can incorporate too much air. Add Graham Cracker Crumbs: Fold in the graham cracker crumbs gradually with a spatula so you control the firmness. Aim for a mixture that holds together when pressed — if it’s too soft, add an extra 2-3 tablespoons of crumbs; if too dry, a teaspoon of milk can soften it. Form the Balls: Using a 1-inch cookie scoop or your hands, portion the mixture into uniform balls. Roll them gently between your palms to smooth the surface and place each on a baking sheet lined with parchment paper, spacing them about 1 inch apart so they don’t stick together. Chill the Balls: Refrigerate for at least 30 minutes to firm up the centers. This step ensures the coating adheres and creates a clean finish when dipped. For best results chill for 1 hour if time permits. Melt the Chocolate: Place the semi-sweet chocolate and optional coconut oil in a microwave-safe bowl. Heat in 30-second intervals, stirring between each, until the chocolate is smooth and glossy. Use short bursts to avoid burning; a double boiler works well too for gentler heat control. Coat the Balls: Working quickly, insert a fork or toothpick into a chilled ball and dip it fully into the melted chocolate, tapping off excess chocolate on the bowl rim. Return the coated ball to the parchment-lined sheet. If the chocolate becomes too thick as you go, gently rewarm it for 10-15 seconds. Garnish and Set: Before the chocolate sets, sprinkle crushed peanuts or limited sprinkles on top for texture and visual appeal. Refrigerate the coated balls for an additional 15-20 minutes until the chocolate is firm.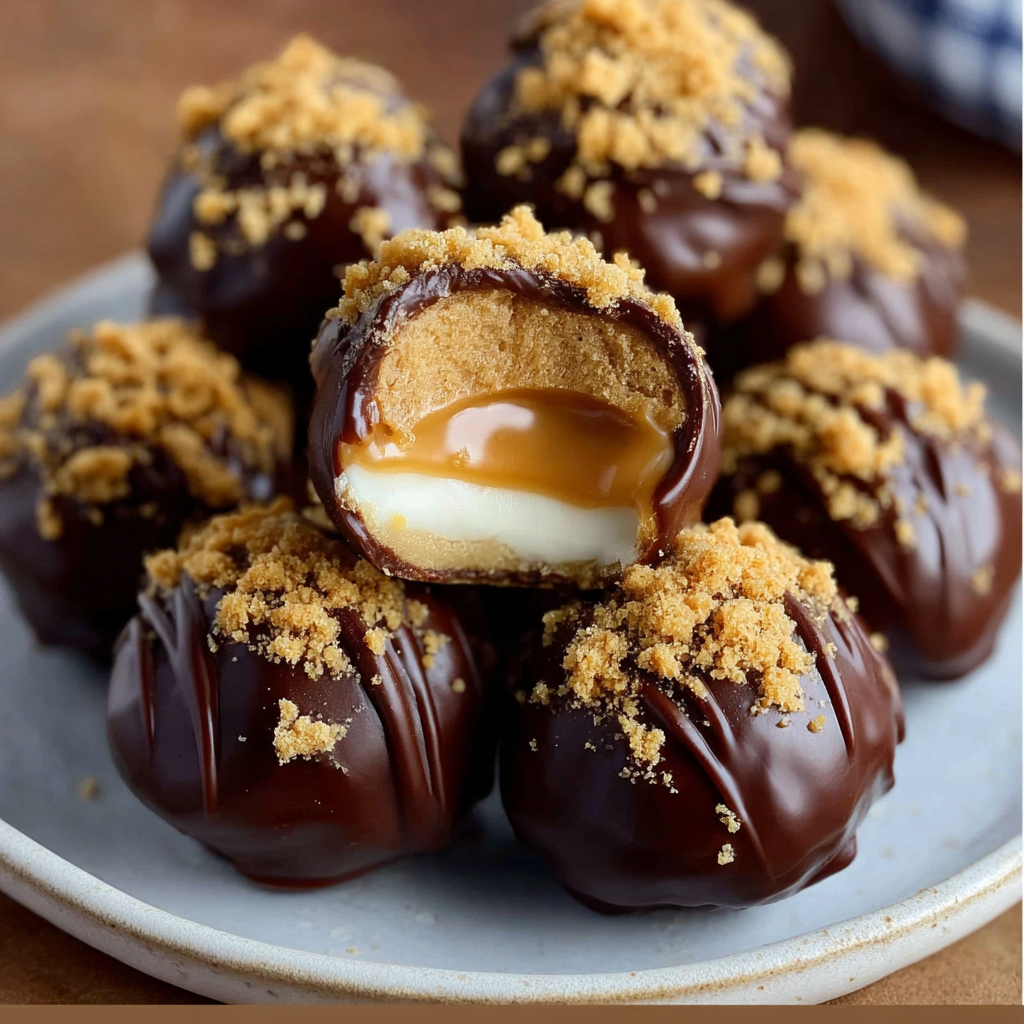
You Must Know
- These treats keep well in the refrigerator for up to 7 days when stored in an airtight container; freeze for up to 3 months for longer storage.
- They are high in protein from the peanut butter, but also calorie-dense — portion control is key if you're watching intake.
- Use room-temperature cream cheese for the smoothest texture; cold cream cheese will create lumps and make rolling difficult.
- The graham crumbs are structural — too few and the centers will be sticky, too many and they’ll be crumbly; adjust by tablespoon increments.
- For a shinier shell, temper the chocolate or add the small amount of coconut oil as directed.
My favorite part of these is how adaptable they are: swap toppings for seasonal flair, and you can even color the coatings for holidays. My partner once surprised me by coating half in dark chocolate and half in milk chocolate for a family gathering; the dark-chocolate lovers devoured theirs first. Friends have told me these travel well to potlucks and make a lovely edible gift tucked into a small box.
Storage Tips
Store in a single layer in an airtight container in the refrigerator for up to one week. If stacking is necessary, separate layers with parchment paper to prevent sticking. For longer storage, freeze on a baking sheet until solid, then transfer to a freezer-safe container or resealable bag for up to three months. To thaw, move to the refrigerator for several hours or overnight rather than leaving at room temperature to avoid condensation on the chocolate shell. Re-crisping is not required; serve chilled straight from the fridge.
Ingredient Substitutions
If you need a gluten-free version, use certified gluten-free graham-style crumbs or crushed gluten-free cookies in the same volume. Swap the semi-sweet chocolate for dairy-free or vegan chocolate to make a dairy-free option, but replace the cream cheese with a firm vegan cream cheese and note the texture will be slightly different. For a different nut profile, almond or cashew butter can substitute for peanut butter, though flavor and stickiness vary; you may need to adjust the crumb ratio by a tablespoon or two to achieve the right consistency.
Serving Suggestions
Present them on a decorative platter lined with doilies or in mini paper cups for a polished look at parties. Pair with coffee, black tea, or a full-bodied milk for contrast. For a decadent dessert plate, serve two cheesecake balls alongside fresh berries and a small scoop of vanilla ice cream. They’re also perfect as party favors packed in a small box with shredded paper and a ribbon.
Cultural Background
These little confections are part of a larger tradition of no-bake treats that became popular in mid-20th-century American kitchens when convenience and refrigeration technology made quick cold desserts desirable. Combining peanut butter and cream cheese reflects a modern twist on classic American flavors — peanut butter is a ubiquitous pantry staple, while cream cheese adds a cheesecake-like tang without needing a crust or baking time. Variations of chocolate-covered peanut-butter confections appear across home baking cultures, especially for holidays and communal gatherings.
Seasonal Adaptations
Adjust the coating and garnishes to match the season: use pastel sprinkles for spring celebrations, crushed peppermint or white chocolate drizzle for winter holidays, and toasted coconut or chopped dried fruit for summer presentations. During warmer months, refrigerate servings until right before guests arrive to prevent melting. In autumn, fold a pinch of ground cinnamon into the filling for a subtle spice note that pairs beautifully with the nutty profile.
Meal Prep Tips
Make the filling up to three days ahead and keep it refrigerated wrapped tightly to prevent drying. Form and chill the balls up to two days in advance; keep them chilled until you’re ready to coat. If you plan to freeze, coat the balls first, freeze on a tray until firm, then transfer to a freezer container. Thaw in the refrigerator the evening before serving. Portion into single-serve containers for grab-and-go snacks that are perfect for packed lunches or quick treats.
These bite-sized indulgences are simple to make, easy to customize, and endlessly shareable. Whether you’re serving them at a gathering or keeping a secret stash in the fridge, they deliver that perfect combination of creamy, crunchy, and chocolate-coated goodness.
Pro Tips
Soften cream cheese completely at room temperature for at least 30 minutes for a lump-free filling.
Chill centers fully before dipping to ensure a smooth, clean chocolate coating.
If chocolate thickens while dipping, microwave for 10-15 seconds and stir to regain fluidity.
Use a 1-inch cookie scoop to achieve uniform sizes for even chilling and pretty presentation.
This nourishing no-bake peanut butter cheesecake balls recipe is sure to be a staple in your kitchen. Enjoy every moist, high protein slice — it is perfect for breakfast or as a wholesome snack any time.
Tags
No-Bake Peanut Butter Cheesecake Balls
This No-Bake Peanut Butter Cheesecake Balls recipe makes perfectly juicy, tender, and flavorful steak every time! Serve with potatoes and a side salad for an unforgettable dinner in under 30 minutes.
Ingredients
Filling
Coating & Garnish
Instructions
Prepare the Filling
Beat softened cream cheese until smooth, then add peanut butter, powdered sugar, and vanilla. Mix until glossy and fully combined.
Add Graham Cracker Crumbs
Fold in graham cracker crumbs gradually until the mixture holds together and can be rolled into balls without sticking.
Form the Balls
Use a 1-inch cookie scoop or hands to form uniform balls, rolling gently to smooth surfaces. Place on a parchment-lined baking sheet.
Chill the Balls
Refrigerate for at least 30 minutes, or up to 1 hour, to firm the centers for dipping.
Melt the Chocolate
Melt chocolate and optional coconut oil in 30-second microwave bursts, stirring between intervals until smooth, or use a double boiler.
Coat the Balls
Dip each chilled ball into melted chocolate using a fork or toothpick, tap off excess, and return to the parchment-lined sheet.
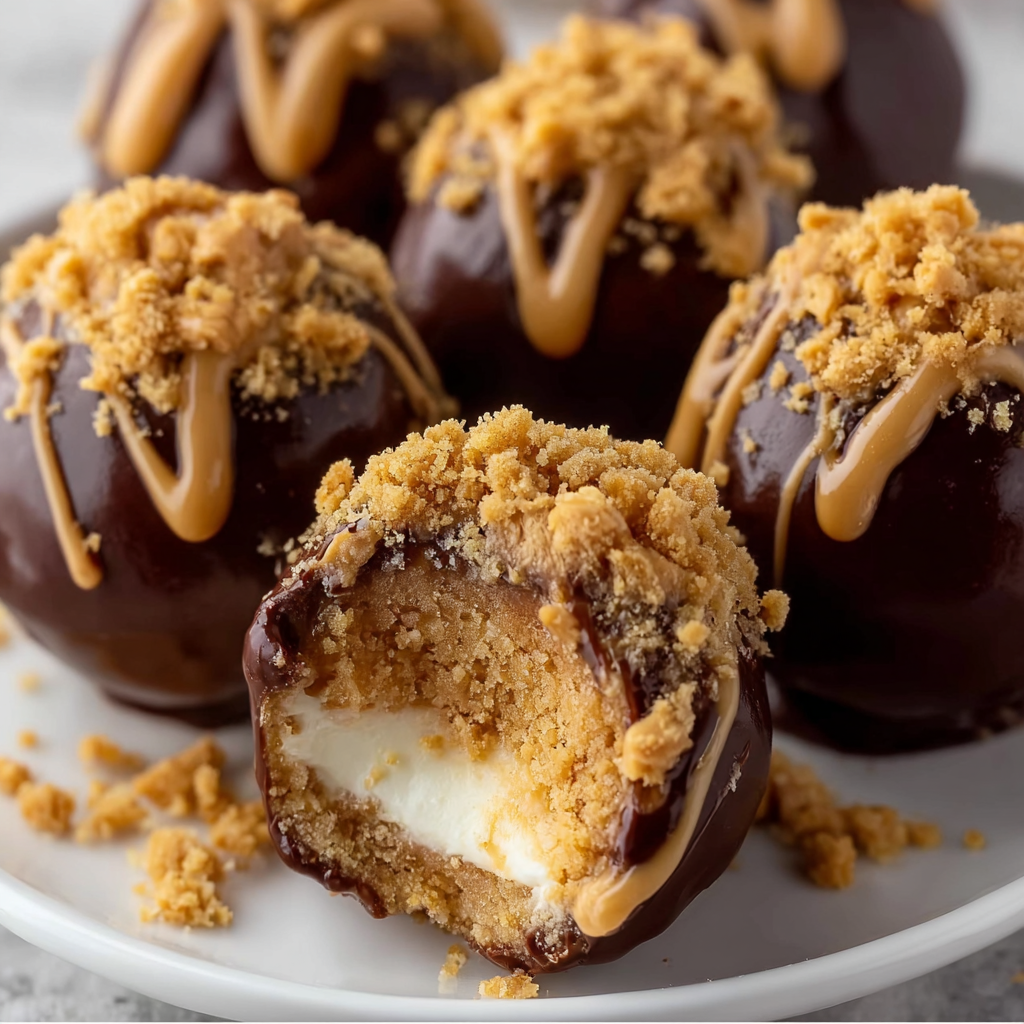
Garnish and Set
Sprinkle crushed peanuts or sprinkles on top before chocolate sets, then refrigerate another 15-20 minutes until firm.
Serve and Store
Serve chilled. Store in an airtight container in the refrigerator up to 7 days or freeze for up to 3 months.
Last Step: Please leave a rating and comment letting us know how you liked this recipe! This helps our business to thrive and continue providing free, high-quality recipes for you.
Nutrition
Did You Make This?
Leave a comment & rating below or tag
@kitchenfunwithmy3sons on social media!
Categories:
You might also like...
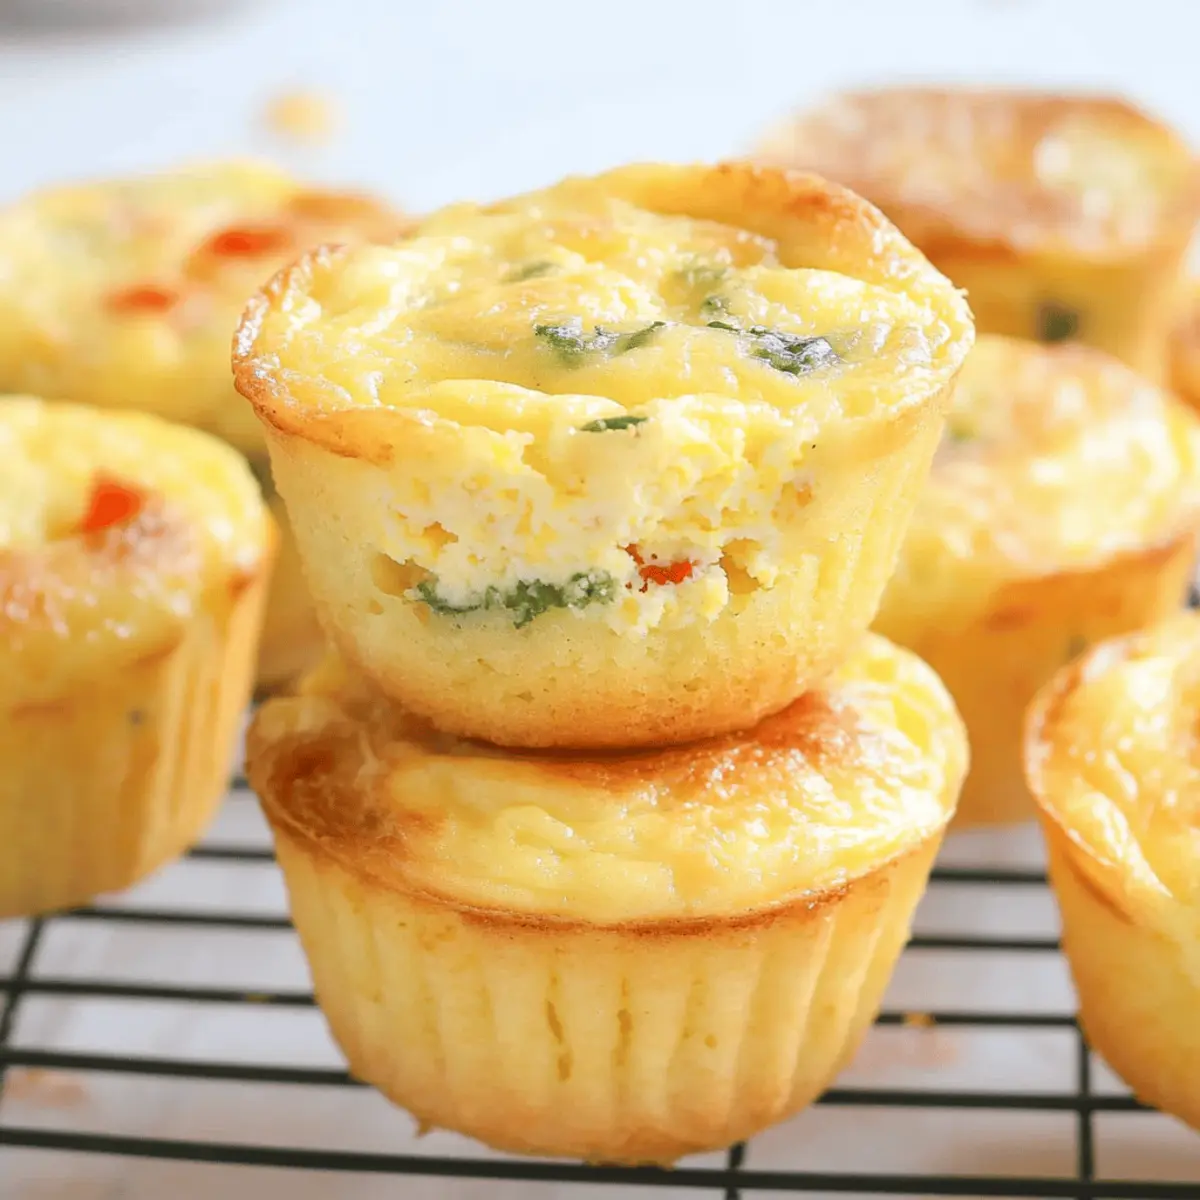
3 Ingredient Cottage Cheese Egg Muffins for a Fluffy Breakfast
Simple, protein packed muffins made with eggs, cottage cheese, and a pinch of salt. Keto friendly and ready in under 35 minutes for busy mornings.
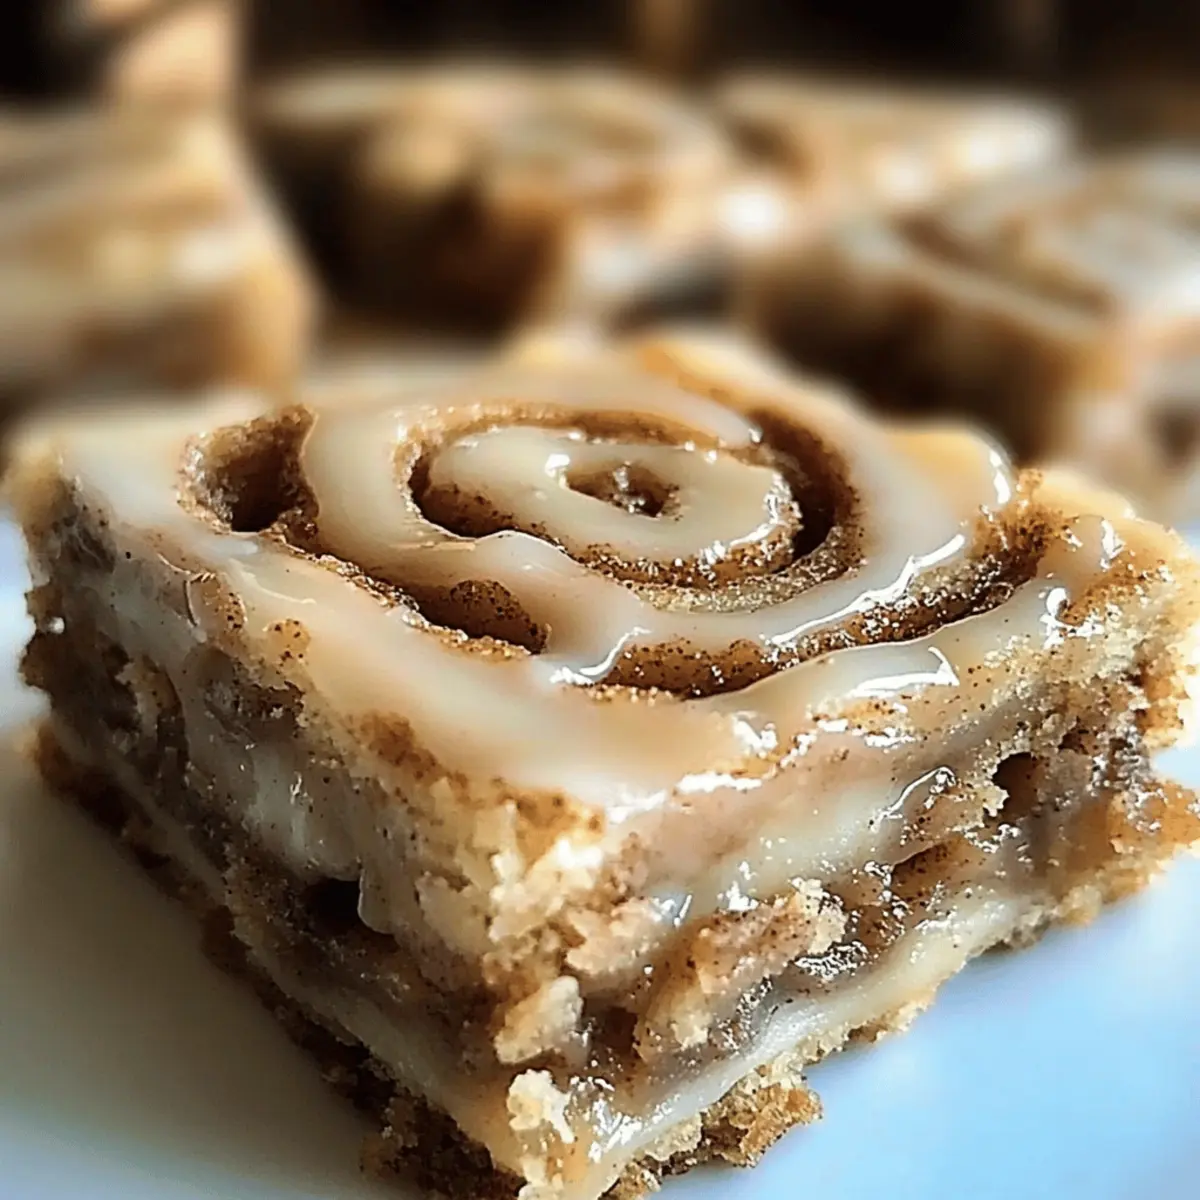
Cinnamon Roll Bliss Bars: Easy Bars for Sweet Moments
A fast and comforting twist on the classic cinnamon roll, these bars are sticky, tender, and glazed to perfection. Ready in under an hour and perfect for sharing.
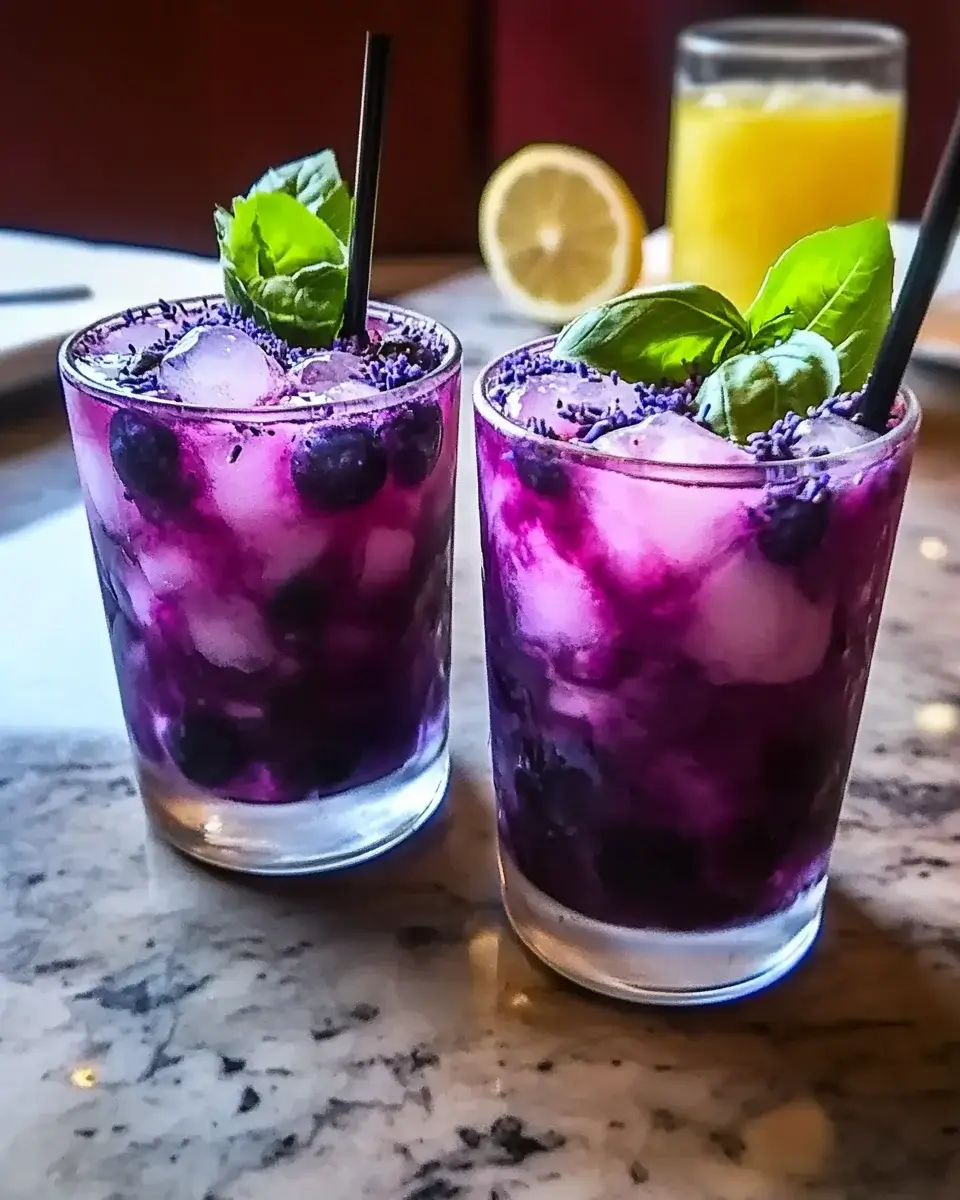
Blueberry Basil Lemon Lavender Mocktail
A bright, aromatic mocktail that blends fresh blueberries, fragrant basil, zesty lemon, and floral lavender syrup for a refreshing drink perfect for warm days.
Did You Make This?
Leave a comment & rating below or tag @kitchenfunwithmysons on social media!
Rate This Recipe
Share This Recipe
Enjoyed this recipe? Share it with friends and family, and don't forget to leave a review!
Comments (1)
This recipe looks amazing! Can't wait to try it.
Comments are stored locally in your browser. Server comments are displayed alongside your local comments.
Hi, I'm Emily!
What's Popular

Get My 30-Minute Meals email series!
Quick and easy dinner ideas delivered to your inbox.