
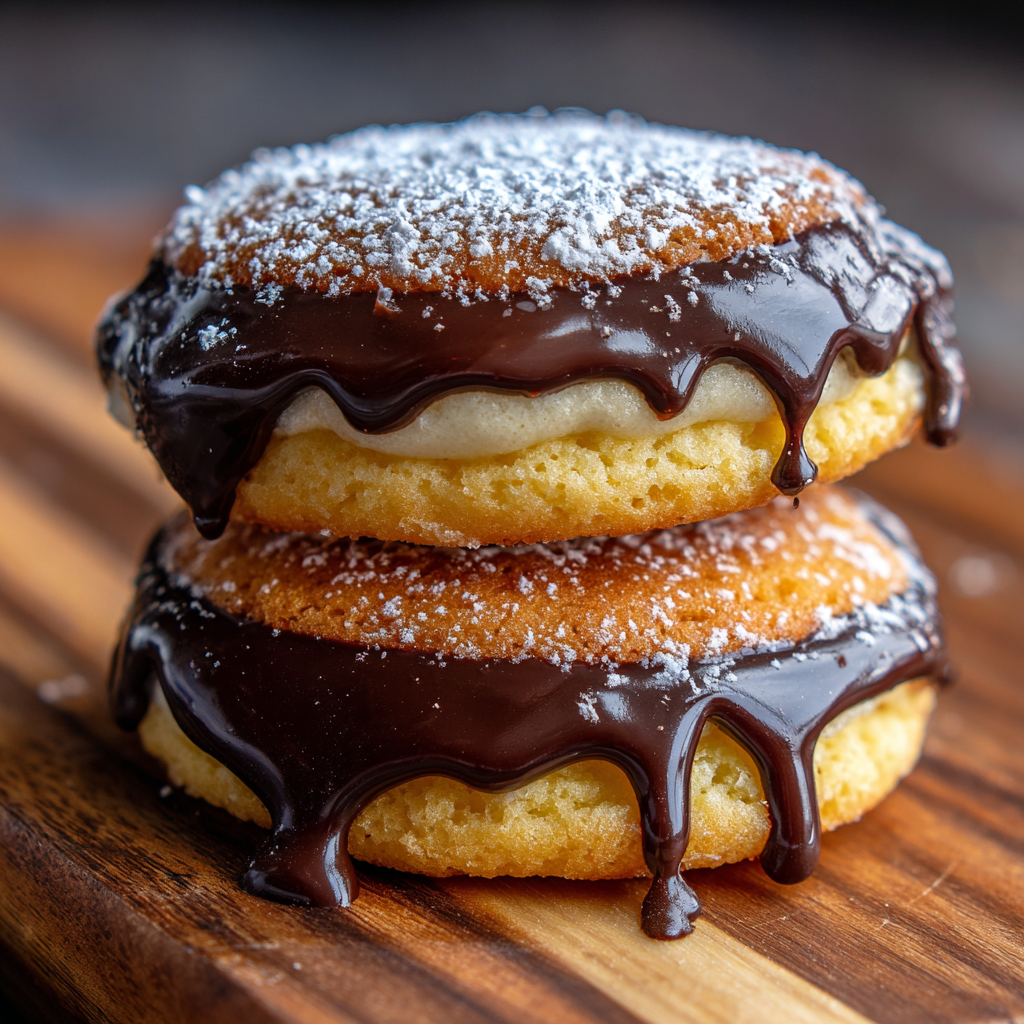
Light & Airy Chocolate Sponge Cake

A better-than-bakery chocolate sponge that's wonderfully light and airy — layered with raspberry jam and chocolate whipped cream for a show-stopping dessert.
This chocolate sponge cake has been my indulgent go-to for special occasions and weekend baking experiments. I first developed this version while trying to recreate a delicate Victorian-style sponge that could stand up to a generous jam and cream filling without feeling heavy. The moment I sliced into the finished cake and watched the slices float on the fork, I knew I had something special. The texture is impossibly light, with a tender crumb that dissolves on the tongue, and a nuanced cocoa note that plays perfectly with a bright raspberry filling.
I discovered the technique behind this recipe during a long baking afternoon when I tested different egg-whipping methods and simple syrup applications. The key is gentle folding to retain the aeration from the whipped egg whites, and the simple syrup step — it keeps the cake moist without weighing it down. Family and friends have called this “better than bakery” more than once; it’s often requested for birthdays and tea gatherings because it dresses beautifully and slices cleanly. Serve chilled or at cool room temperature and expect compliments.
Why You'll Love This Recipe
- This comes together quickly: about 15 minutes active prep and 20 minutes in the oven, with an hour to cool — perfect for planning the rest of a party menu.
- Uses pantry-friendly basics like all-purpose flour, cornstarch, and cocoa; no specialty flour required and the measurements are easy to scale.
- Produces a feather-light crumb that pairs beautifully with jam and whipped chocolate cream for an elegant yet homey finish.
- Make-ahead friendly: the layers keep well refrigerated for a day and freeze well for up to three months if wrapped tightly.
- Adaptable for dietary preferences: you can swap the oil for a neutral avocado oil and use dairy-free cream to make a dairy-free version (see substitutions).
In my experience, the most memorable moment is the first slice — watching the bright raspberry reveal between the soft, cocoa-scented layers. Guests always appreciate how light it feels despite looking decadent, and the simple syrup is the secret that keeps the sponge tender for days.
Ingredients
- All-purpose flour: Use regular all-purpose flour for structure; 2 tablespoons is enough to stabilize the sponge without making it dense. If buying, King Arthur or Pillsbury are reliable brands in the US.
- Cornstarch: Adds silkiness and helps mimic cake flour. 1/3 cup is combined with flour to keep the crumb tender and light.
- Cocoa powder: Unsweetened natural cocoa provides a bright chocolate flavor. I use 2 tablespoons — Dutch-processed will give a deeper color but may shift leavening slightly.
- Eggs: Four large eggs, separated at room temperature. Room-temperature eggs whip more easily and yield better volume in both whites and yolks.
- Sugar: Granulated sugar split between whites and yolks helps create stable meringue and a thick ribboned yolk mixture; total 2/3 cup.
- Vegetable oil: A neutral oil like canola keeps the crumb tender without solidifying in the fridge; 2 tablespoons is enough to add moistness without greasiness.
- Simple syrup: Equal parts sugar and boiling water brushed onto cooled layers seals in moisture — essential for this low-fat cake.
- Whipping cream & cocoa: Heavy whipping cream whipped with a touch of icing sugar and cocoa forms a chocolate whipped cream that’s light yet stable; 2 cups cream and 3 tablespoons cocoa.
- Raspberry jam: Use a bright, slightly tart jam or homemade raspberry filling to cut through the sweetness and complement the chocolate.
Instructions
Preheat and prepare pans: Set the oven to 320°F (160°C) with fan-forced if available. Line the bottom of two 8x3-inch cake pans with baking paper. Do not grease the sides — the batter needs to cling to the pan sides to rise evenly. If you don’t have a fan oven, increase to 347°F (175°C). Combine dry ingredients: Sift or whisk together 2 tbsp all-purpose flour, 1/3 cup cornstarch, 1/4 tsp baking powder, 2 tbsp unsweetened cocoa, 1 tsp instant coffee powder, and 1/4 tsp salt until evenly distributed. Set aside. The coffee powder deepens the chocolate without making the cake taste like coffee. Whip egg whites: In a clean bowl, whisk 4 egg whites with 1/8 tsp white vinegar on medium-high. Gradually add 1/3 cup of the granulated sugar and continue whipping to stiff peaks (about 4 minutes total, switching to low for the final minute to knock out large bubbles). Stiff peaks should hold shape firmly but remain glossy. Beat yolks: In another bowl, combine the remaining 1/3 cup sugar with 1 1/2 tbsp warm water until the sugar is dissolved. Add 4 egg yolks and 2 tsp vanilla and beat on medium-high for 4 minutes, then 1 minute on low, until thick and ribbon-like. Slowly stream in 2 tbsp oil while mixing on medium so it emulsifies without deflating the mixture. Fold and assemble batter: Fold half the whipped whites into the yolk mixture gently to lighten it. Sift in the dry mixture and fold until nearly combined, then fold in the remaining whites. Work carefully to preserve air — a few streaks are fine. Pour into prepared pans, tap lightly to remove large bubbles, and run a toothpick to pop any surface pockets. Bake and cool: Bake for about 20 minutes. The top should spring back slowly when pressed and a skewer should come out clean. Immediately tap pans on the counter from about 4 inches high, invert pans and cool them upside down in the tins on a wire rack for about an hour to prevent collapse. Run a knife around edges, unmold, and gently remove any darker crust from edges for neat layers. Apply simple syrup:
Mix 1/4 cup granulated sugar with 1/4 cup boiling water until dissolved. Using a pastry brush, generously brush the tops and sides of each sponge to lock in moisture — don’t skip this.
Prepare chocolate whipped cream:
Whip 2 cups cold heavy whipping cream with 3 tbsp powdered (confectioners') sugar, 3 tbsp unsweetened cocoa, and 1/2 tsp vanilla to stiff peaks. Taste and adjust cocoa or sugar to your preference. Chill until assembly.
Assemble the cake:
Place one sponge layer down, spread a thin layer of raspberry jam, and arrange halved strawberries cut-side down if using. Spread a generous layer of chocolate whipped cream and smooth. Top with second sponge, cover with more whipped cream, and decorate with additional strawberries. Chill briefly to set before slicing.
Apply simple syrup:
Mix 1/4 cup granulated sugar with 1/4 cup boiling water until dissolved. Using a pastry brush, generously brush the tops and sides of each sponge to lock in moisture — don’t skip this.
Prepare chocolate whipped cream:
Whip 2 cups cold heavy whipping cream with 3 tbsp powdered (confectioners') sugar, 3 tbsp unsweetened cocoa, and 1/2 tsp vanilla to stiff peaks. Taste and adjust cocoa or sugar to your preference. Chill until assembly.
Assemble the cake:
Place one sponge layer down, spread a thin layer of raspberry jam, and arrange halved strawberries cut-side down if using. Spread a generous layer of chocolate whipped cream and smooth. Top with second sponge, cover with more whipped cream, and decorate with additional strawberries. Chill briefly to set before slicing.

You Must Know
- This cake is low in fat compared with butter-rich cakes, so brushing with simple syrup prevents dryness and preserves that delicate crumb.
- Egg whites should be at room temperature for maximum volume; ensure bowls and utensils are grease-free for successful whipping.
- Leftovers keep well refrigerated for 2–3 days and can be frozen (layers wrapped individually) for up to 3 months.
- Nutrition per slice (approx.): 303 kcal, 30 g carbs, 19 g fat, 4 g protein; values are estimates and vary by brand.
My favorite aspect is the contrast between the airy sponge and the tangy raspberry layer; it keeps each bite bright. Guests often ask for the recipe and comment on how the cake looks fancy but tastes homemade — which is exactly the goal.
Storage Tips
Store the assembled cake in the refrigerator covered with a cake dome or large airtight container. To prevent the whipped cream from absorbing fridge odors, place a sheet of plastic wrap over the cake without touching the frosting if you don’t have a dome. Unfrosted layers can be wrapped tightly in plastic and frozen for up to three months; thaw in the refrigerator overnight before brushing with syrups and assembling. For best texture, serve slices within 48 hours.
Ingredient Substitutions
Use gluten-free all-purpose flour blend in place of the flour and cornstarch for a gluten-free version, but expect a slightly different crumb and shorter shelf life. For dairy-free, replace heavy cream with a stable coconut cream whipping product and use a dairy-free powdered sugar. If you prefer a richer flavor, swap half the oil for melted unsalted butter (cooled) — it will produce a slightly denser texture.
Serving Suggestions
Serve slices with a drizzle of extra raspberry coulis and a dusting of cocoa or powdered sugar. Pair with a bright tea like Earl Grey or a fruity Pinot Noir for adults. For celebratory occasions, garnish with fresh flowers and piped chocolate rosettes. Individual mini versions can be made in 4-inch pans for elegant single-serve presentations.
Cultural Background
This style takes cues from the classic Victorian sponge and Japanese-style airy sponges that emphasize aeration and lightness. European sponge cakes often rely on creamed butter or beaten eggs; this recipe leans on whipped egg white techniques to keep the crumb exceptionally light, reflecting traditions where texture is prized over richness.
Seasonal Adaptations
Swap the raspberry for lemon curd and fresh berries in summer for a brighter flavor, or use spiced plum jam and mascarpone-spiced cream in fall. In winter, fold a teaspoon of cinnamon into the whipped cream and top with candied orange peel for festive warmth.
Meal Prep Tips
For easy entertaining, bake and freeze layers ahead. Make the whipped cream and jam the day of serving or the night before. Assemble a few hours in advance and chill to let flavors meld; this improves sliceability and makes plating quick on the event day.
Enjoy sharing this light chocolate sponge — it’s the cake I reach for when I want something that looks elegant but still feels like a warm hug from home.
Pro Tips
Ensure all mixing bowls and utensils are completely grease-free before whipping egg whites to achieve maximum volume.
Fold ingredients gently with a wide spatula using a lifting motion to preserve the air in the meringue.
Brush each layer generously with simple syrup to keep low-fat sponges moist and tender.
This nourishing light & airy chocolate sponge cake recipe is sure to be a staple in your kitchen. Enjoy every moist, high protein slice — it is perfect for breakfast or as a wholesome snack any time.
FAQs about Recipes
Why use room temperature eggs?
Room temperature eggs whip more easily and achieve greater volume, which is important for this delicate texture.
Can I freeze the cake layers?
Yes — wrap unfrosted layers tightly in plastic and freeze for up to three months. Thaw overnight in the refrigerator before assembly.
Tags
Light & Airy Chocolate Sponge Cake
This Light & Airy Chocolate Sponge Cake recipe makes perfectly juicy, tender, and flavorful steak every time! Serve with potatoes and a side salad for an unforgettable dinner in under 30 minutes.
Ingredients
Sponge Cake
Simple Syrup
Whipped Chocolate Cream & Decoration
Fillings
Instructions
Preheat and prepare pans
Preheat oven to 320°F (160°C) fan-forced, line bottoms of two 8x3-inch pans with baking paper and leave sides ungreased.
Mix dry ingredients
Combine flour, cornstarch, baking powder, cocoa, instant coffee and salt in a bowl and whisk until evenly distributed.
Whip egg whites
Whisk egg whites with vinegar on medium-high, slowly add 1/3 cup sugar, whip to stiff glossy peaks (about 4 minutes total).
Beat yolks and add oil
Beat remaining 1/3 cup sugar with warm water, add yolks and vanilla, beat until thick and ribbon-like (5 minutes), then stream in oil while mixing.
Fold batter and bake
Fold half the whites into yolk mixture, sift in dry ingredients, then fold remaining whites. Pour into pans, tap to remove bubbles and bake 20 minutes until a skewer comes out clean.
Cool upside down
Immediately tap pans on the counter, invert and cool upside down in the pans on a wire rack for about an hour to prevent collapse.
Brush with simple syrup
Mix sugar and boiling water and brush syrup generously over cooled layers to retain moisture.
Make chocolate whipped cream
Whip cold heavy cream with icing sugar, cocoa and vanilla to stiff peaks, taking care not to overwhip.
Assemble
Layer jam and halved strawberries on bottom sponge, spread whipped cream, top with second sponge, cover whole cake with remaining cream and decorate.
Last Step: Please leave a rating and comment letting us know how you liked this recipe! This helps our business to thrive and continue providing free, high-quality recipes for you.
Nutrition
Did You Make This?
Leave a comment & rating below or tag
@kitchenfunwithmy3sons on social media!
Categories:
You might also like...

3 Ingredient Cottage Cheese Egg Muffins for a Fluffy Breakfast
Simple, protein packed muffins made with eggs, cottage cheese, and a pinch of salt. Keto friendly and ready in under 35 minutes for busy mornings.
Cinnamon Roll Bliss Bars: Easy Bars for Sweet Moments
A fast and comforting twist on the classic cinnamon roll, these bars are sticky, tender, and glazed to perfection. Ready in under an hour and perfect for sharing.

Blueberry Basil Lemon Lavender Mocktail
A bright, aromatic mocktail that blends fresh blueberries, fragrant basil, zesty lemon, and floral lavender syrup for a refreshing drink perfect for warm days.
Did You Make This?
Leave a comment & rating below or tag @kitchenfunwithmysons on social media!
Rate This Recipe
Share This Recipe
Enjoyed this recipe? Share it with friends and family, and don't forget to leave a review!
Comments (1)
This recipe looks amazing! Can't wait to try it.
Comments are stored locally in your browser. Server comments are displayed alongside your local comments.
Hi, I'm Emily!
What's Popular

Get My 30-Minute Meals email series!
Quick and easy dinner ideas delivered to your inbox.